Slate rarely gets a second look in Britain. It sits above our heads on roofs, goes grey in the rain and gets taken for granted. Bring it indoors, though, and something shifts. A single wall of cleft slate behind a fireplace or a freestanding bath changes the character of a room: cooler, quieter, more considered. Cladding a wall with it is less daunting than it sounds, provided you understand the formats on offer, how they are fixed, and what the stone will do once it is up.
Slate is a metamorphic rock, formed under pressure and splitting along natural planes. That layered structure is why it can be cleaved into thin sheets rather than sawn into blocks like granite or limestone, and it is what gives a riven face its shallow, rippling texture.
In a room, that translates into a few practical advantages. Slate is dense, so it adds mass to a wall and takes some of the edge off echo in a hard-surfaced space. It shrugs off splashes and steam, holds its colour in daylight, and every piece differs from the next, which is exactly what you want from a feature wall. It also does something paint and wallpaper cannot: it introduces real depth. Run a hand down a cleft slate wall and you feel ridges, tool marks and mineral veins. Under a raking light, that surface becomes the decoration.
Slate for walls comes in a handful of broad formats. They are not interchangeable — each suits a different look and a different fixing method.
For any of these, ask for the actual thickness and the weight per square metre, including adhesive. Those two numbers decide what your wall can carry.
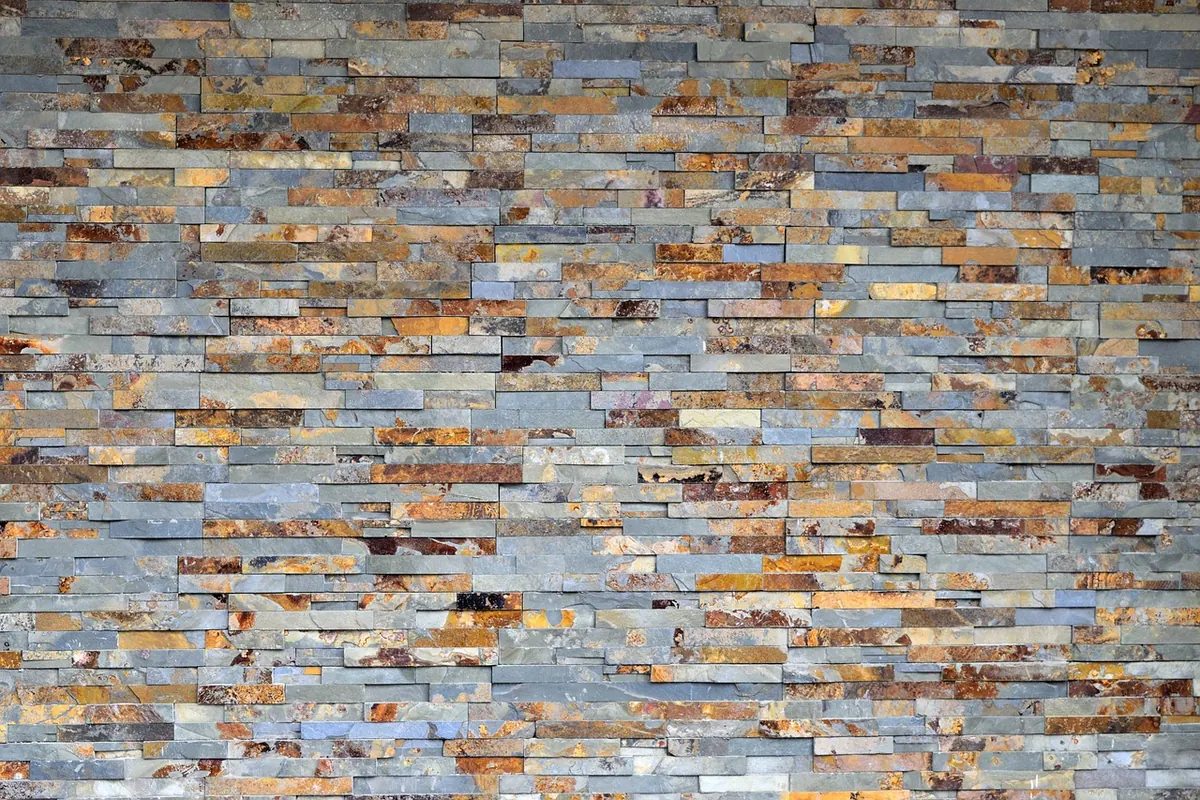
British slate is not simply grey. Depending on its origin you will see blue-grey, charcoal, green-grey, purple-brown and warm rust tones. Some slates carry iron pyrites, small metallic flecks that can oxidise and leave rust-coloured streaks when they get wet — worth asking about if the wall is going inside a shower or a heavily used bathroom.
Order samples and live with them for a few days. Slate looks very different in north-facing light, under a warm bulb and at night with lamps on. Then plan the layout on paper before anything is fixed. Decide whether you want a dry-stacked look with tight joints, a wider mortar gap that reads as coursing, or a deliberate mix of two sizes. Sketch the wall with the actual dimensions and mark your cuts, so awkward slivers do not end up in the most visible corner. Order around ten to fifteen per cent extra: natural stone varies between batches, and you will break the odd piece.
The right method depends almost entirely on the weight of the stone and the construction of the wall behind it.
Thin riven tiles and slips are normally bedded in a cement-based flexible adhesive over a stable, primed substrate. Plasterboard has a modest weight limit that varies with the build-up, so check with the board manufacturer or your tiler before loading it up. Cement backer board is a safer bet in wet areas and on walls where the plaster is old or drummy. Bear in mind that cement-based adhesives and gypsum plaster do not always get along; prime as the adhesive manufacturer instructs, or switch the substrate. Solid bed the tiles, back-butter the thicker ones, and keep joints consistent.
Thicker riven panels are often too heavy to rely on adhesive alone. The usual approach is a framework of treated timber battens or metal rails fixed to the wall, with the slate screwed, clipped or hung in place using stainless-steel fixings that will not stain the stone. The frame has to be set out level and plumb, because any error shows once the stone is on. On masonry, use appropriate plugs and screws into the substrate rather than into plaster. On stud walls, add noggings at every fixing line.
Mesh-backed ledgestone and slip systems are the quickest route to a stone wall. They are cut and dressed in the factory, so installation is largely a matter of staggering the sheets, keeping joints tight and pressing them firmly into adhesive. Corner pieces and end returns are usually available, which saves you trying to mitre brittle stone by hand.
Cladding one wall, or part of one, usually works better than covering everything. A full-height slate wall behind a bath or a fireplace reads as a focal point; slate everywhere can feel like a cellar.
Lighting is the difference between texture and murk. Grazing light from above or below exaggerates the relief beautifully; flat downlighting flattens it. Dark charcoal slate needs more illumination in a small room, so plan the lighting at the same time as the wall, not after.
Think about edges. Slate needs a stop: an aluminium trim, a recessed shadow gap, a timber reveal or a return into a niche. Unfinished edges look unfinished. Grout colour matters too — dark grout on dark stone gives a monolithic block, while a paler grout picks out the coursing and makes the wall look more traditional. In kitchens, a slate splashback behind a hob or sink works well, but seal it properly and expect to wipe it down rather than scrub it.
Slate is relatively low porosity, but riven faces and wider joints trap dust and soap residue, so an impregnating sealer is a sensible precaution, particularly in bathrooms and kitchens. Reapply according to the product instructions rather than on a calendar.
For routine cleaning, use a pH-neutral stone cleaner, warm water and a soft cloth or brush. Avoid acidic descalers, bleach-heavy sprays and anything abrasive — they dull the surface and can etch the stone. If a light mineral bloom appears after installation, it is usually efflorescence working its way out and will wipe away. Rust-coloured spotting is a different matter and points to pyrites in the stone, which no cleaner will cure.
Do these five things and the project tends to run smoothly.
Get those decisions settled early and the rest is straightforward. Slate rewards patience: a well-planned wall looks deliberate for decades, and the material will still be doing its job long after the trend that prompted it has moved on.
Photo: paulbr75 / Pixabay